How To Test a Bladder Accumulator: A Complete Guide
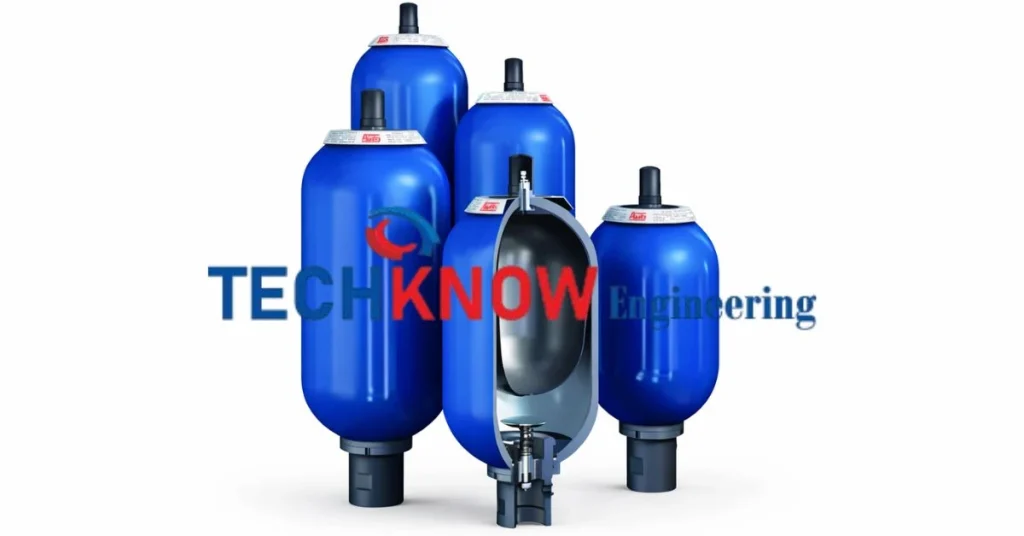
Bladder Accumulators are critical components in hydraulic systems, storing pressurized fluid to provide energy when needed. These devices help maintain system pressure, absorb shock, and compensate for fluid leakage. However, like any hydraulic component, bladder type accumulators require regular testing to ensure optimal performance and prevent costly system failures.
Testing hydraulic bladder accumulators isn’t just good practice—it’s essential for maintaining system reliability and safety. A faulty accumulator can lead to pressure drops, system inefficiency, or even dangerous failures. Whether you’re working with Olaer bladder accumulators or other manufacturers’ models, understanding the proper testing procedure will help you identify issues before they become major problems.
Essential Tools and Materials – Bladder Accumulators
Before beginning the testing process, gather the necessary equipment:
- Pressure gauge (compatible with your system’s pressure range)
- Nitrogen gas supply
- Pressure charging kit
- Safety equipment (goggles, gloves)
- Leak detection fluid or soapy water
- Torque wrench
- Clean rags or cloths
Ensure all equipment is calibrated and in good working condition. Using faulty testing equipment can lead to inaccurate readings and potentially dangerous situations.
Step-by-Step Testing Guide
- Step 1: Prepare the Accumulator
Begin by isolating the bladder hydraulic accumulator from the hydraulic system. Depressurize the hydraulic side completely by opening the appropriate valves or using the system’s depressurization procedure. This step is crucial for safety and accurate testing results.
Remove any hydraulic connections carefully, ensuring no residual pressure remains in the system. Clean the accumulator’s exterior to remove dirt or debris that might interfere with the testing process.
- Step 2: Visual Inspection
Conduct a thorough visual inspection of the accumulator body, connections, and gas valve. Look for signs of damage such as:
- Cracks or dents in the shell
- Corrosion or rust
- Damaged threads on connections
- Oil stains indicating potential leaks
- Worn or damaged gas valve components
Document any visible damage, as this may indicate internal bladder damage or other issues requiring immediate attention.
- Step 3: Charge with Nitrogen Gas
Connect your nitrogen charging equipment to the gas valve. Slowly charge the accumulator with nitrogen to the manufacturer’s specified pre-charge pressure. This pressure is typically marked on the accumulator nameplate or found in the technical documentation.
Monitor the pressure gauge carefully during charging. The pressure should rise steadily and stabilise at the target pressure. If the pressure doesn’t hold or rises too quickly, this may indicate bladder damage.
- Step 4: Monitor Pressure Retention
Allow the charged accumulator to sit for at least 30 minutes while monitoring the pressure gauge. A properly functioning bladder accumulator should maintain its pre-charge pressure with minimal loss (typically less than 5% over 24 hours).
Record pressure readings at regular intervals. Significant pressure drops indicate potential bladder perforation or gas valve issues that require immediate attention.
- Step 5: Leak Detection
Apply leak detection fluid or soapy water to all connections, the gas valve, and the accumulator shell. Look for bubbles that indicate gas leakage. Pay particular attention to:
- Gas valve threads and seals
- Shell welds or joints
- Connection points
- Any areas showing signs of corrosion
Even small leaks can lead to performance issues over time and should be addressed promptly.
Critical Safety Precautions
Testing bladder accumulators involves working with high-pressure systems and potentially hazardous materials. Always follow these safety measures:
- Personal Protection: Wear appropriate safety equipment including safety glasses, gloves, and protective clothing. Ensure others in the area are also protected.
- Pressure Safety: Never exceed the accumulator’s maximum working pressure. Use only dry nitrogen gas for charging—never use oxygen or compressed air, which can create explosive mixtures with hydraulic oil.
- Proper Ventilation: Conduct testing in well-ventilated areas to prevent accumulation of nitrogen gas, which can displace oxygen.
- Emergency Procedures: Know how to quickly depressurize the system in case of emergency. Keep emergency contact information readily available.
Key Takeaways for Reliable Testing
Regular testing of hydraulic bladder accumulators is fundamental to maintaining system reliability and safety. By following this systematic approach from proper preparation and visual inspection through pressure testing and leak detection you can identify potential issues before they cause system failures.
For businesses requiring bladder accumulators distributors, sellers, manufactures, or dealers, Techknow Engineering Enterprise offers comprehensive solutions and expertise in hydraulic accumulator systems. Remember that testing should be performed by qualified personnel familiar with hydraulic systems and safety procedures.
Establish a regular testing schedule based on your system’s operating conditions and manufacturer recommendations. Proactive maintenance and testing will extend accumulator life, improve system performance, and prevent costly downtime.
Bladder Accumulators
Learn how to test hydraulic bladder accumulators effectively with this detailed guide. Discover essential safety precautions, required tools, and a step-by-step process to ensure optimal performance. Regular maintenance and testing will enhance system efficiency, prolong accumulator lifespan, and prevent unexpected failures.
Product Brand: Techknow Engineering Enterprise
Product Currency: INR
Product In-Stock: InStock
5